Steps
- Make sure you have enough space on your PC (around 70Gb)
- Download the emulator.
- Download virtual box and import OVA.
- Export to {Select the virtual machine} -> Go to main menu -> File -> Export appliance. Make sure Format is “Open virtualization format 1.0“.
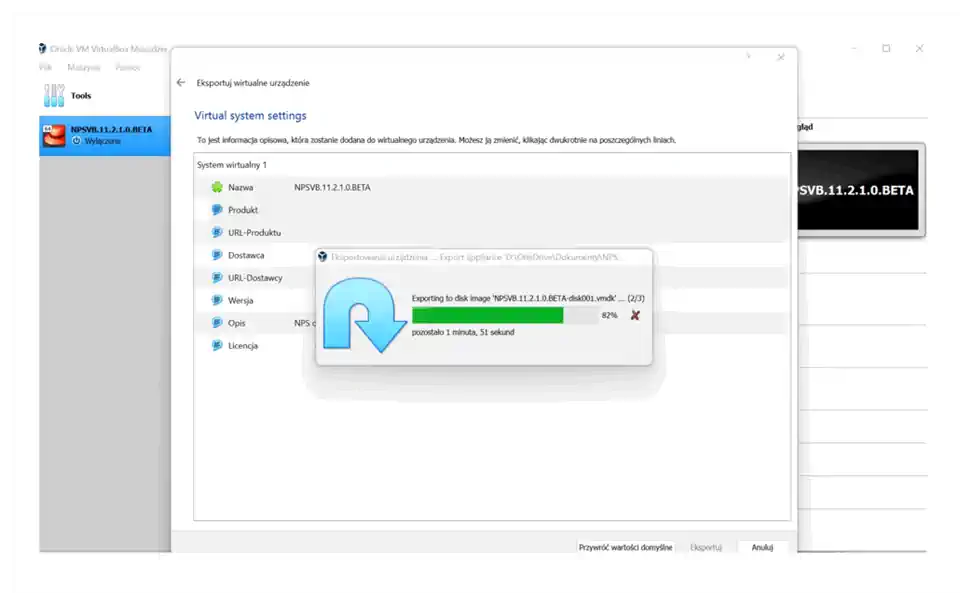 Note: It can take some time (with NVME drives took 1 hour)
 - Launch VM Ware Player and import OVA.
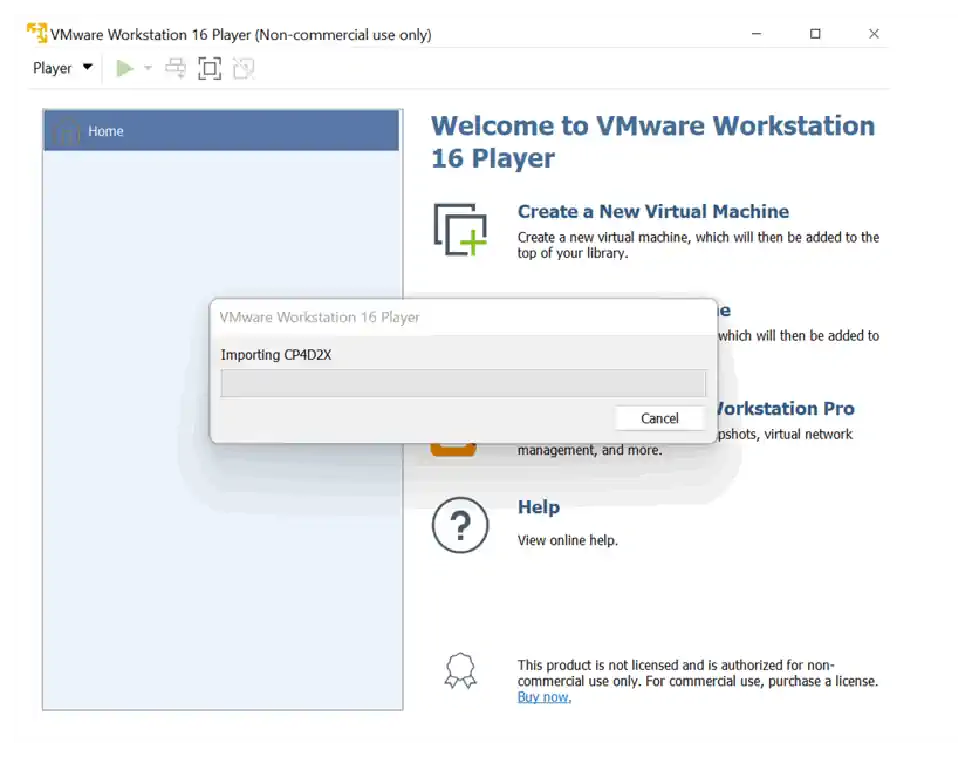 N.B. You will get warnings – simply ignore – click retry. Import also will take some time.
 - Edit vmx file and change virtual HW version: virtualhw.version = “12”.
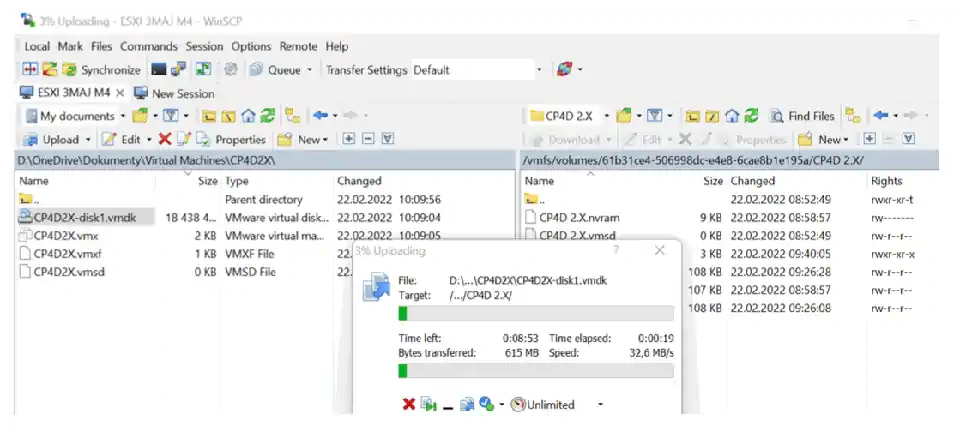
- Upload all files to ESXI (enable ‘sshd’ in services first) into VM directory.
- Import virtual machine. And then convert disk with:
vmkfstools -i /vmfs/volumes/datastore1 (3)/CP4D 2.X/CP4D2X-disk1.vmdk /vmfs/volumes/datastore1 (3)/CP4D 2.X/CP4D2X-disk1-proper.vmdk` - In ESXi add existing disk and remove old one.
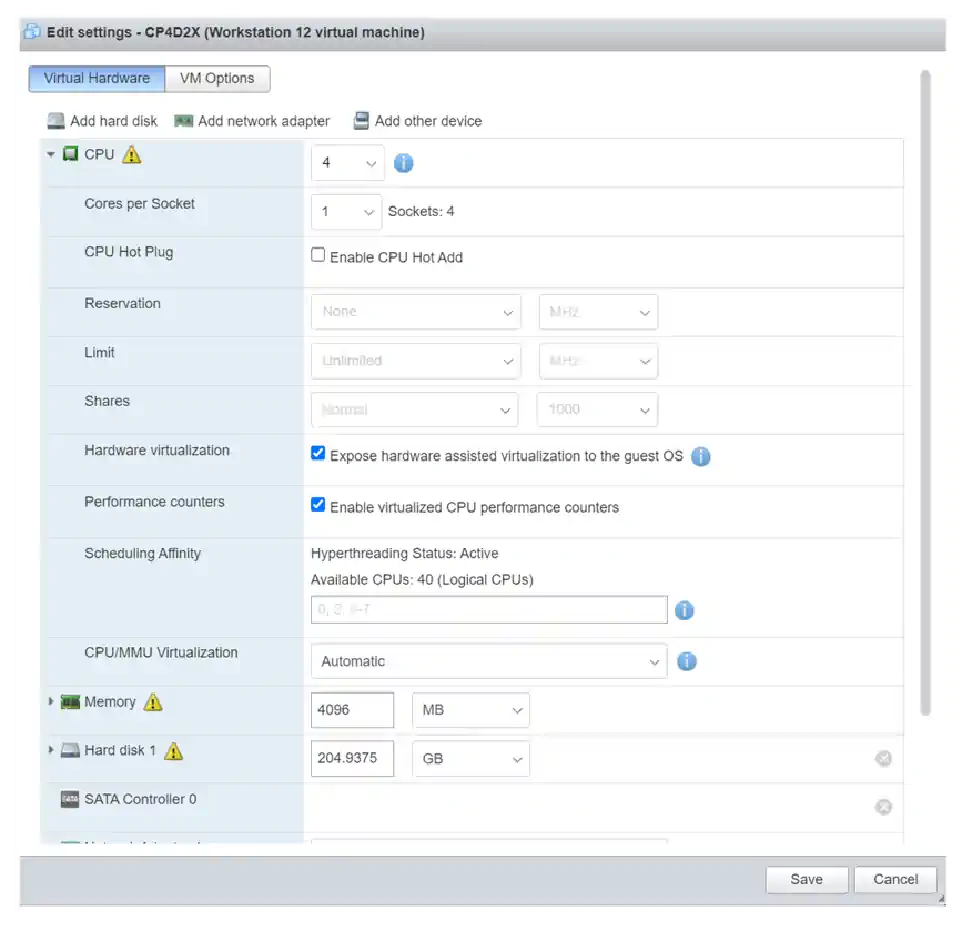
- Enable hardware assisted virtualization as below:
- Power on VM. We almost have CP4D NPS ready in ESXi (remove additional network card if it appears).
- Launch terminal and run:
sudo su – systemctl set-default multi-user.target
and note ip address (ifconfig)
- Reboot
From here we are going to run everything in terminal.
- The default install doesn’t create enough space, neither does /nz partition… we need to increase it manually by removing some from /home.
- As nz: (if system is started).
nzstop - As root:
mkdir /tmp/homebackup yes | cp -pr /home/* /tmp/homebackup/ umount /home lvremove /dev/centos/home lvcreate -L 10G -n home centos mkfs.xfs /dev/mapper/centos-home mount -a cp -pr /tmp/homebackup/* /home/ lvcreate -l 100%FREE -n nz centos mkfs.xfs /dev/mapper/centos-nz mount /dev/mapper/centos-nz /mnt/ cp -pr /nz/* /mnt/ rm -rf /nz echo "/dev/mapper/centos-nz /nz xfs defaults 0 0" >> /etc/fstab mount -a chown nz:nz /nz su – nz nzstart
Outputs of system commands should be as following:
[nz@localhost ~]$ nzrev
Release 11.2.1.0 [Build 30]
[nz@localhost ~]$ nzstate
System state is 'Online'
Now let’s upgrade.
- Go to Fix Central Fix Central
- From upgrade packages extract NPS application files:
npsos.11.2.1.4.tar.gz unpack - Upload those to the VM.
- Run, as root:
chmod +x unpack ./unpackrm -rf /nz/kit ln -s /nz/kit.11.2.1.4/ /nz/kit chown nz:nz /nz/kit -R su – nz nzrev (should show 11.2.1.4) nzinitsystem -reinit mkdir /nz/kit/sbin/vspu cp /nz/kit.11.2.1.0/sbin/vspu/libvspunzds.so /nz/kit.11.2.1.4/sbin/vspu/ nzstart -newSystem
Voila! With those few easy steps you are now running upgraded NPS in version 11.2.1.4.
Did you find that helpful? If you need any help with your Netezza support, why not contact us here.